
I may earn commission if you use my affiliate links to purchase products: More details.
Building an e-commerce website is quite easy. Platforms like Shopify let you create one easily; however, some beginners might find it expensive.
The solution is to build a self-hosted website with WordPress. WordPress is an open-source CMS platform that can be used to develop your website within minutes. Many web hosting companies offer one-click installation for WordPress, and you can get started with your online venture with a little bit of money.
Some platforms, like Shopify, allow you to create an e-commerce website easily, but the base plan usually limits you to fewer products. However, with open-source WordPress, you can set up a server and self-host a commercial website without limitations.
Why build an eCommerce website?
According to Statista, an Indian e-commerce company, the number of Indian online shoppers is forecasted to increase to 427 million by 2027. If you’re an Entrepreneur or intend to start a business, building an e-commerce website is one way to beat your competitors.
Whether you own a hardware store or plan to sell digital products, building an e-commerce website gives you the leverage and makes you self-sufficient. With the website, you can collect their emails and convert them into lifetime customers.
How do you start an e-commerce website with WordPress?
This guide is about open-source WordPress.org, not to be confused with WordPress.com. An open-source platform allows more freedom.
To create an e-commerce or any self-hosted website, you need two main things:
- Domain Name
- Web Host (server)
A domain name is like your personal phone number and should be unique and easily memorable to your audience.
A web hosting server is a place where you host your website files; buying web hosting is like renting a space for your website on the Internet.
Choosing a domain name
A domain name is your business name on the internet. Make sure to choose a unique brandable name for your website, and pick top-level domain names such as .com or .net. Also, avoid using spammy-looking domain extensions like .xyz. Google or other search engines won’t give much weight to these domains while ranking.
Also, avoid using Trademarked names or words on your domain name, and make sure not to use numbers or hyphens as well.
Purchasing the Domain Name
There are many Domain Registrars you can choose from; they all offer similar features, but NameCheap offers free domain privacy for a lifetime,e which is a good feature if you want your website to be anonymous.
So in this example, I will be using NameCheap.com for my domain name, but you can register your domain from any registrar company you prefer.
Let’s get started:
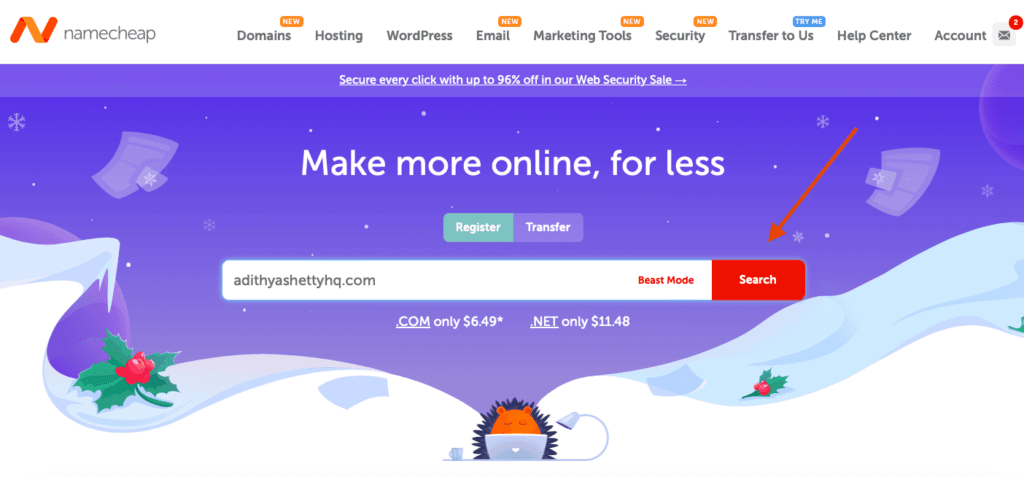
Go to Namecheap.com, in the search bar type your desired domain name; Namecheap will display whether your domain name is available or not. If it’s available, click on the Add to Cart and Checkout ” buttons.
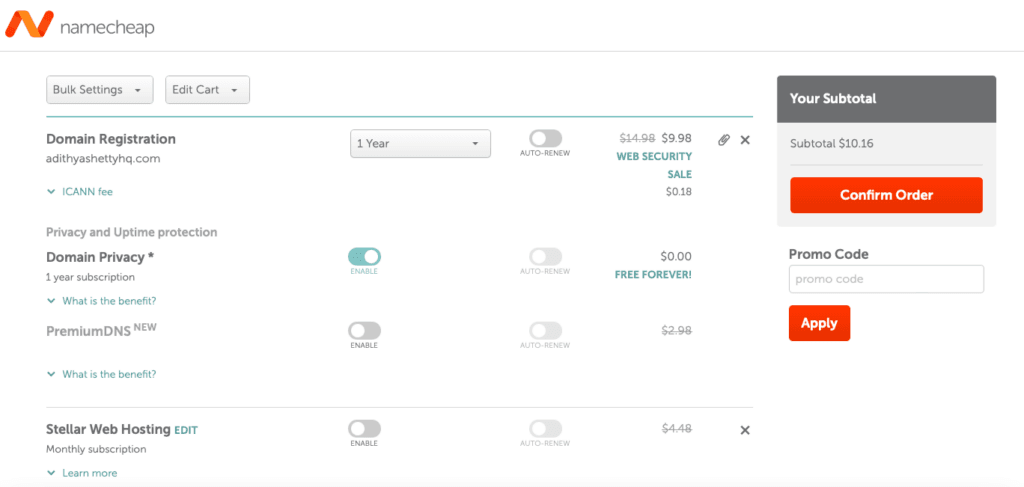
It will take you to the order page where you can confirm the order, as shown in the above screenshot. Namecheap also suggests you buy their web hosting services, but in this example, I won’t be using their hosting. However, you can buy their hosting if you have constraints on your budget; they offer hosting at cheap rates.
If you’re only purchasing the domain name, the amount would be around $10 for the first year. You can create an account and pay after filling in your billing address.
Purchasing the Web Hosting Service
Many popular web hosting companies offer quality hosting services for beginners, such as Bluehost, ChemiCloud, NameHero, etc., but in this example, I will be using Hostinger.
Hostinger is a managed WordPress hosting provider that offers hosting at affordable prices.
Let’s begin:
Go to Hostinger. in and click on Start now
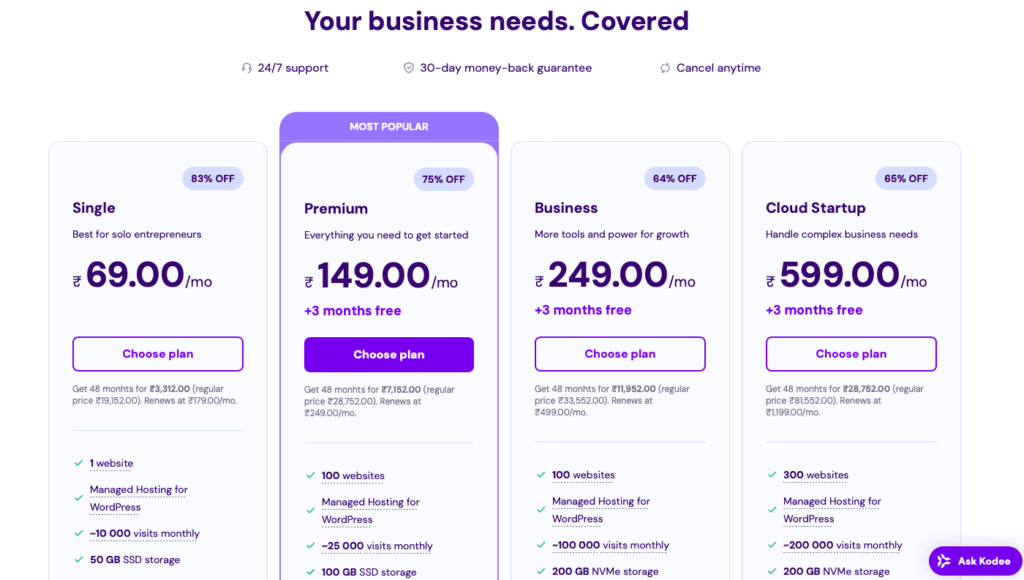
Now select the desired plan; the best thing about Hostinger web hosting is that they offer monthly plans.
Installing WordPress on Hostinger and connecting the Domain
Once you purchase the hosting plan and create an account, you must install WordPress and connect your domain name to set up an eCommerce website.
I recently wrote a detailed tutorial on how to install WordPress on Hostinger and link your domain. To do so, follow the article below to install WordPress on your hosting server.
Once you install WordPress on Hostinger, it’ll look like the screenshot below with a free Twenty Twenty-Two theme. Now, to convert your WordPress you need to install an eCommerce theme and a few plugins.

WordPress has thousands of free e-commerce supporting themes that can help you easily convert your website into an online store. However, in this example, I will be using the GeneratePress theme, which is considered to be the best performance-oriented theme on the market. Log in
Log in to your WordPress dashboard, go to Appearance > Themes > Add New Theme, and type GeneratePress in the search bar. Now click on the Install, then Activate button.
While GeneratePress is a free theme, you need a premium GeneratePress plugin to enhance its capabilities and also get access to ready-made eCommerce templates.
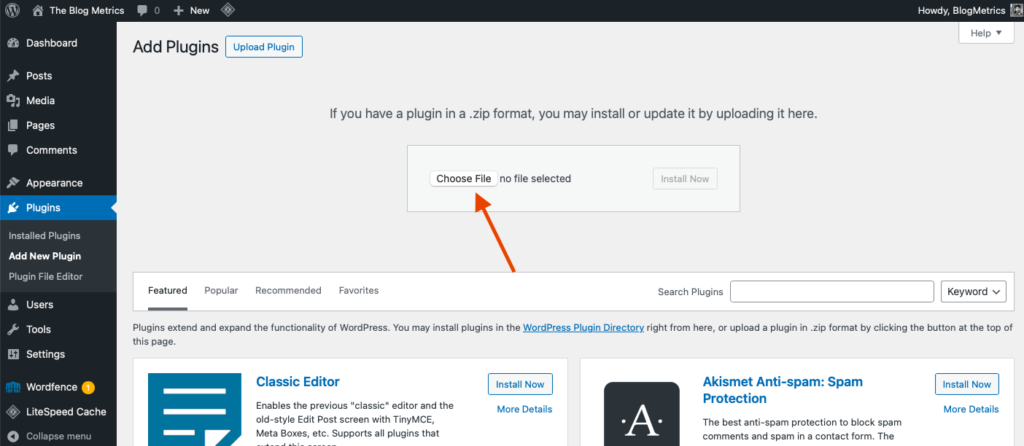
Once you have a premium GeneratePress plugin and downloaded it to your local computer, go to Plugins > Add New Plugin > Upload Plugin on your WordPress Dashboard and click on Choose File to upload the plugin.
Now activate the License Key by visiting the Appearance > GeneratePress. Then scroll down and activate Site Library.
Once you have activated the Site Library, click on Open Site Library. Here you will have dozens of ready-made templates that you can use to customize your website.
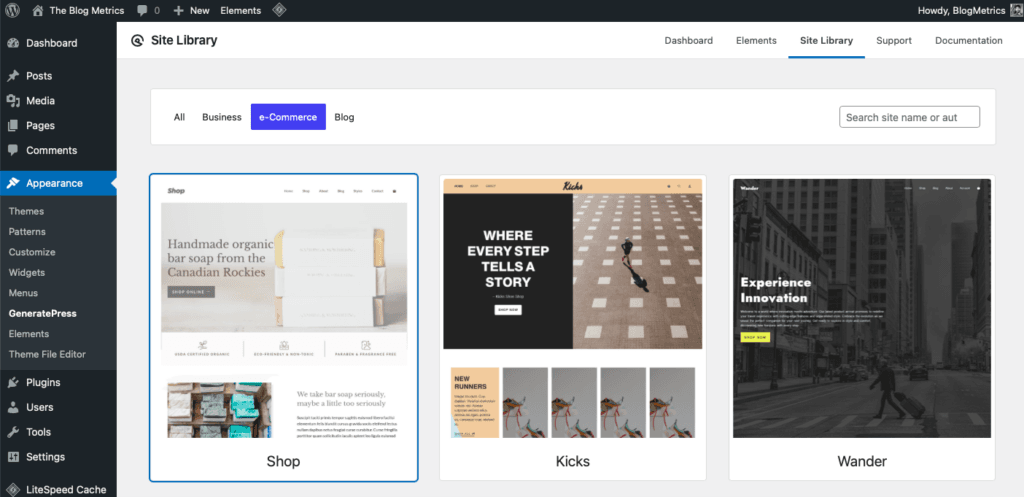
Now, click on the desired eCommerce template, press the Get Started button, and Begin Import. It’ll automatically download the necessary plugins like WooCommerce and GenerateBlocks.
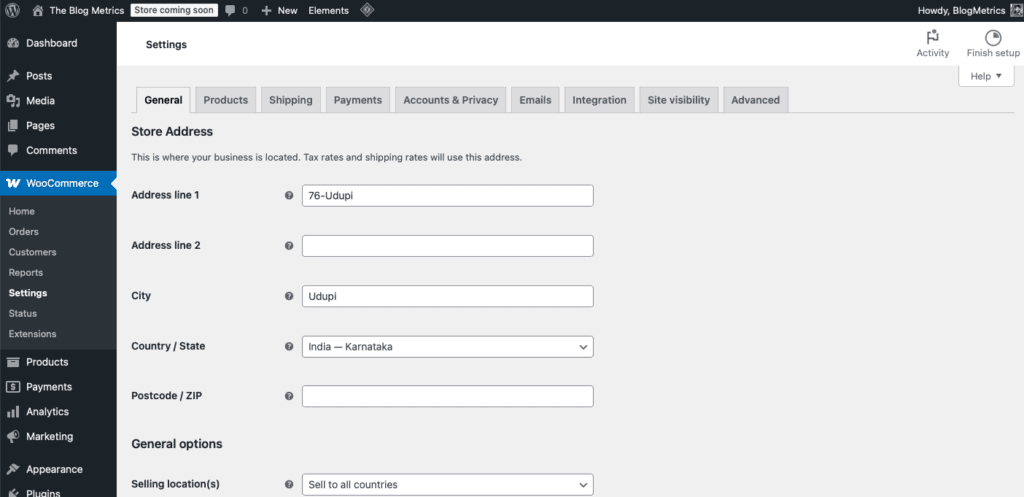
Next, go to WooCommerce>Settings and fill out the necessary details such as address, selling locations, Tax, Payments, etc.
Adding Products
Once you fill out all the details, it’s time to add your first product.
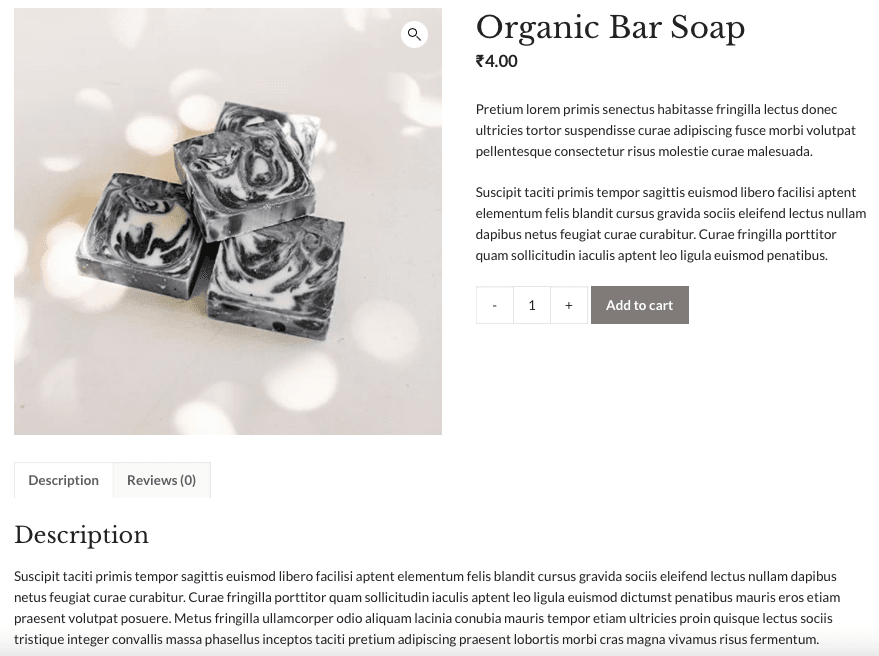
Go to Products>Add new product, the editor page will appear; here you can add the title or name of your product, description, and the image of your product, Category, etc.
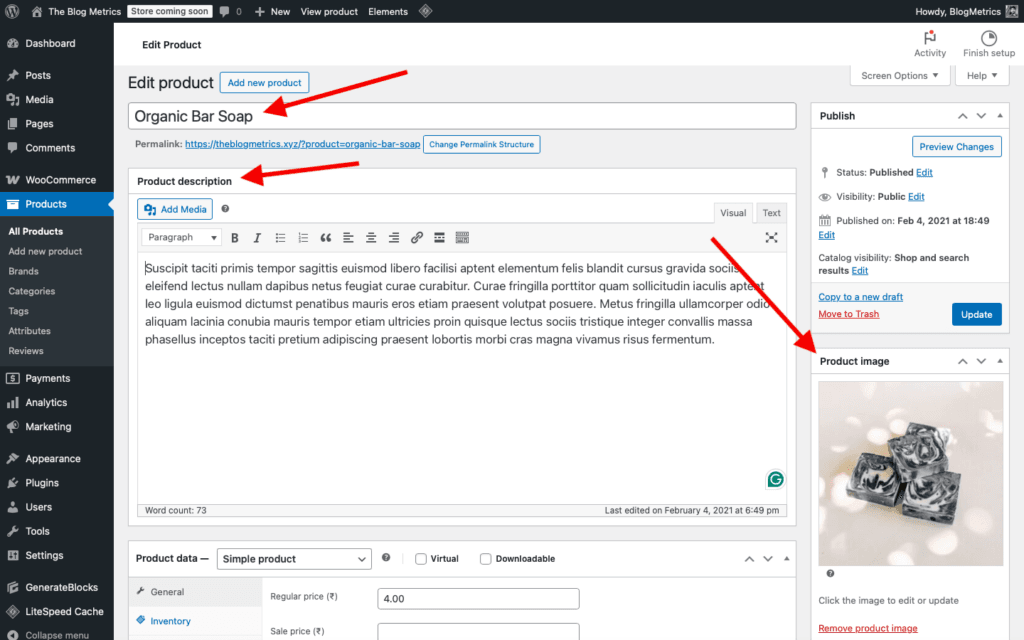
Once you’re done, click on the publish button to feature your product to the customers. The published product will look like the screenshot below.
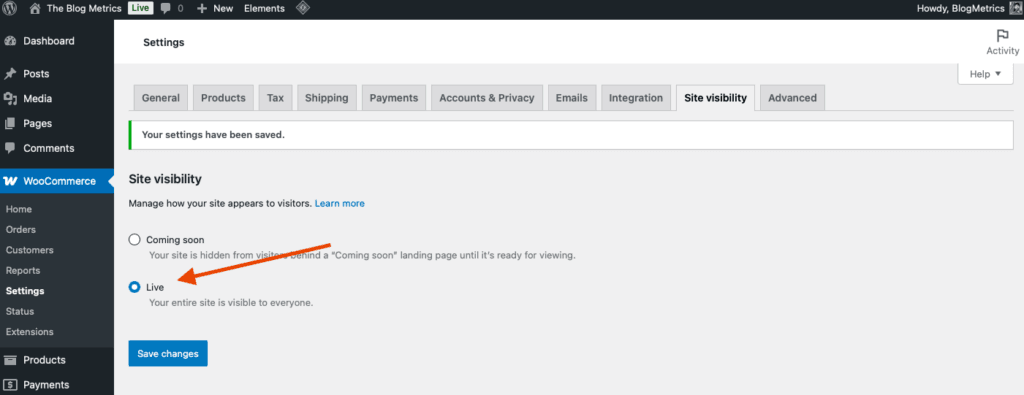
Now make sure your eCommerce store is visible to everyone; if not, select Live in the Site visibility settings on the WooCommerce dashboard.
That’s it! You have successfully created an eCommerce website with WordPress. I have avoided going into too much detail so as not to create confusion and tried to explain it in simple terms. The process is similar,r even if you use any other web hosting provider or a WordPress theme.
Struggling to set up your WordPress site? I’m here to help; contact me here to get started with your project.