I may earn commission if you use my affiliate links to purchase products: More details.
One of the best things about Hostinger is that it supports LiteSpeed Web Server and is cheaper than other entry-level hosting providers. Hostinger is relatively easy to set up and new website owners might find it beneficial. If you’re thinking of starting a new WordPress website on Hostinger, then you’re at the right place.
In this tutorial, I will show you a step-by-step guide on how you can set up a WordPress website on Hostinger.
In this example, I’ll be using Hostinger India. However, the setup process is the same for the USA, UK, and other country versions.
How to Install WordPress on Hostinger Web Hosting
This tutorial guides you to purchase a Hostinger Web Hosting plan and Install a WordPress platform to get started with your online venture.
Total Time: 10 minutes
How To Purchase a web hosting plan

Go to the homepage of Hostinger and click Get Started
Select the Desired Plan
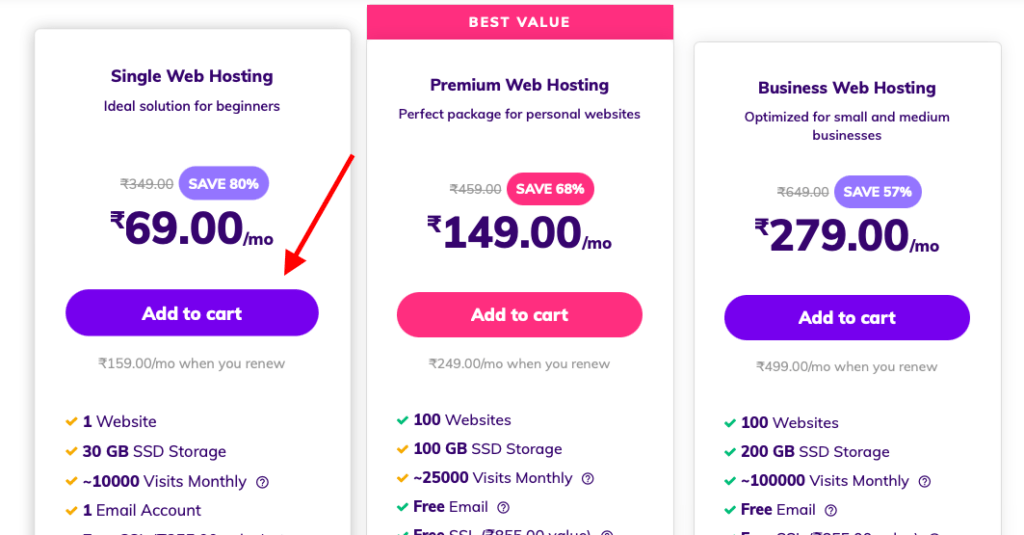
Choose the desired plan and click Add to cart
Pick the Plan Cycle
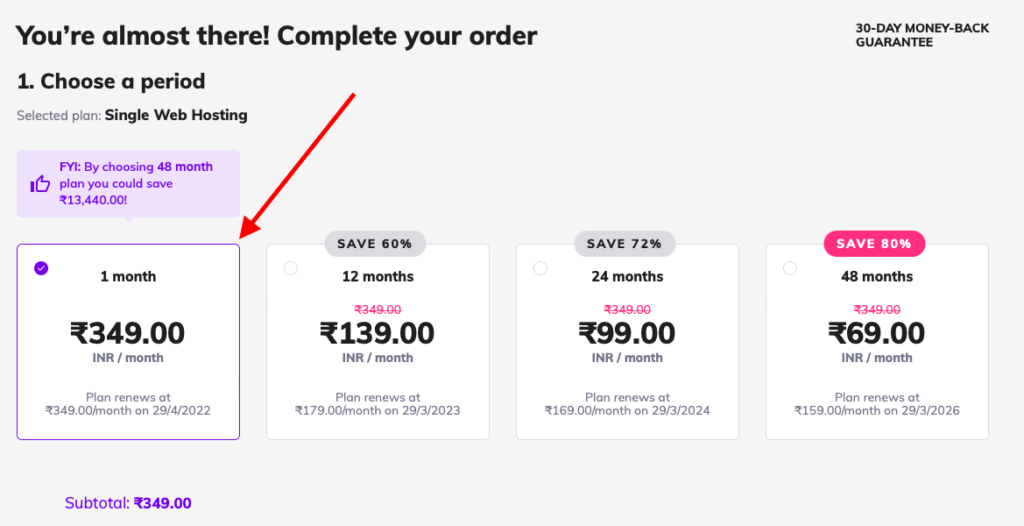
In this example, I’m choosing the monthly plan because I already have several hosting accounts to host my websites, but you pick any monthly cycle you prefer.
Make the Payment
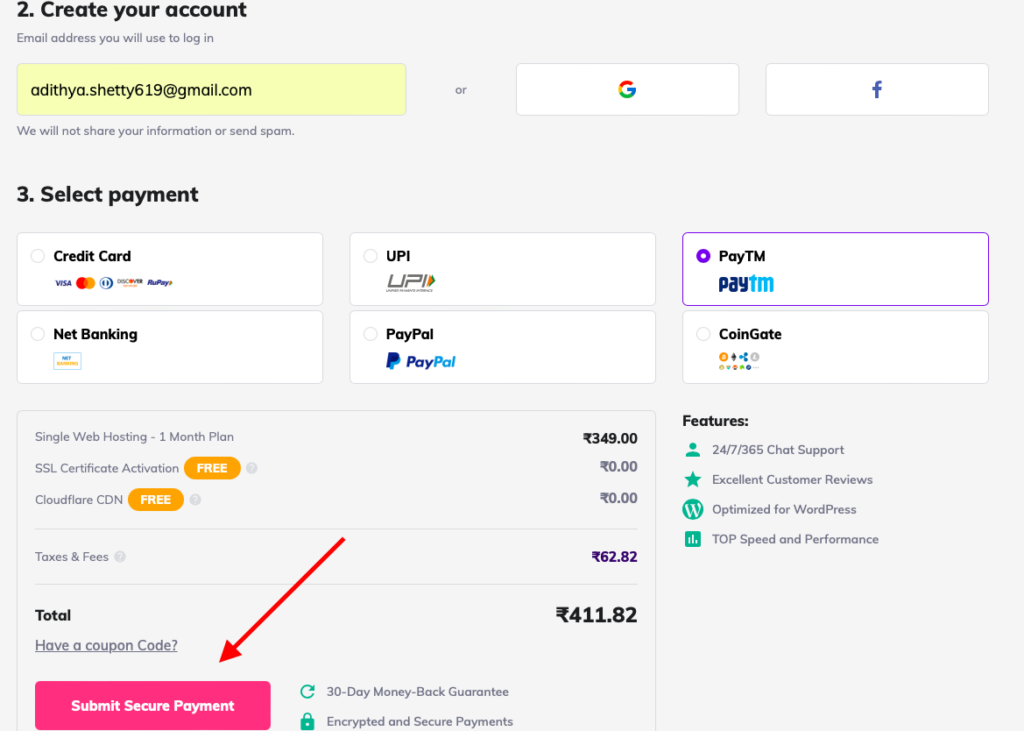
Now make a payment with the desired method.
Select a Platform (WordPress)
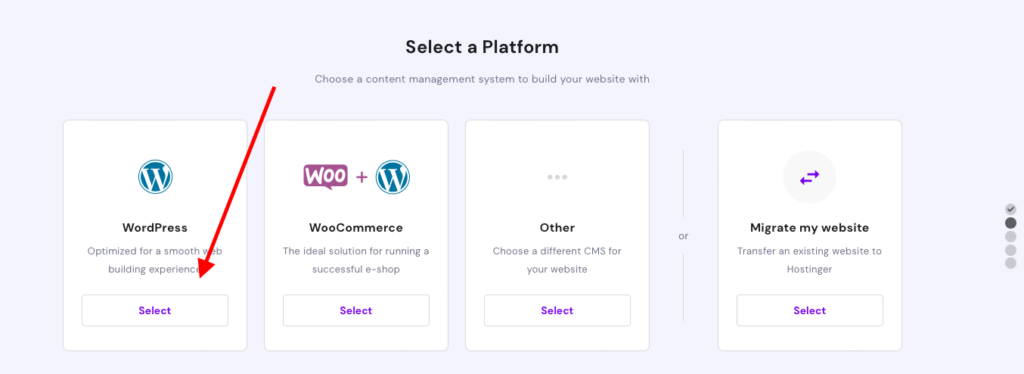
Now select the WordPress Platform or you can pick 2nd option which is WooCommerce with WordPress.
Create a WordPress Account
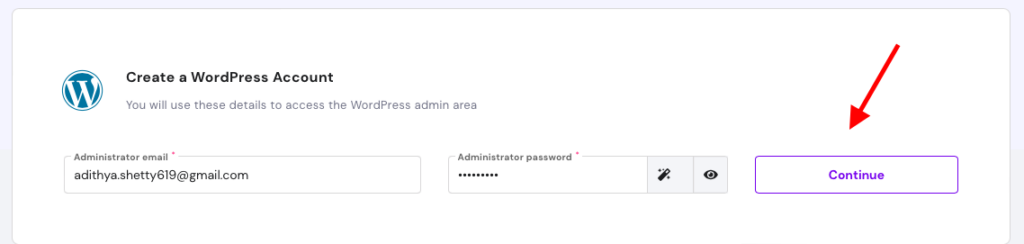
Enter your email and password to sign up for a WordPress account.
Choose a Theme you
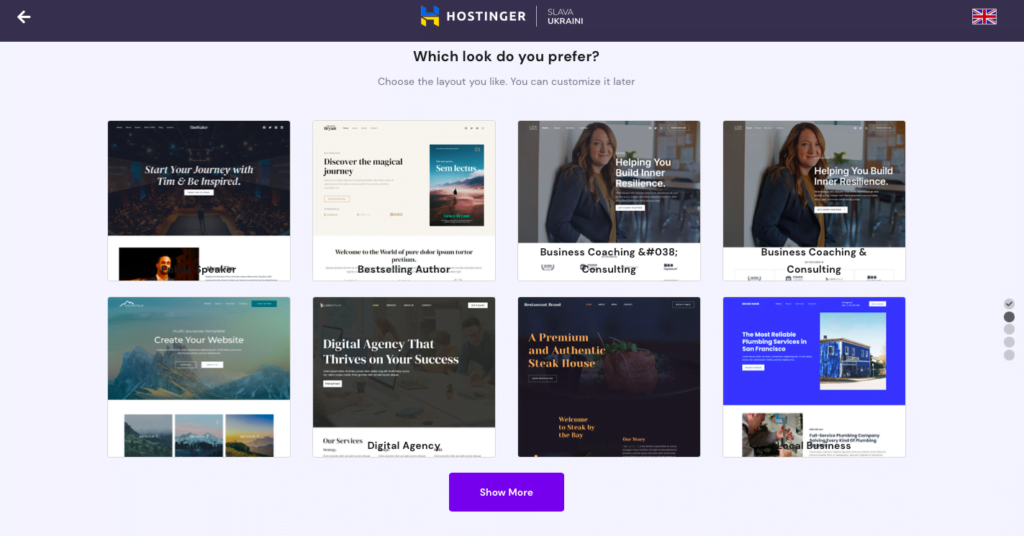
Now choose a WordPress theme you like.
Name your Website
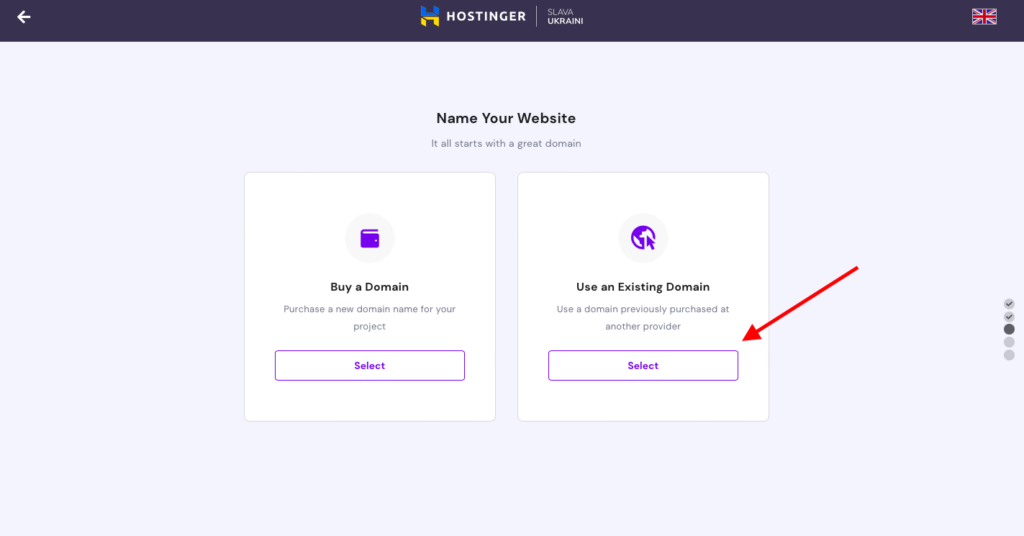
Now it’s time to buy your domain name or use the existing domain. In this example, I’m going to use my existing domain name.
Enter your Domain Name
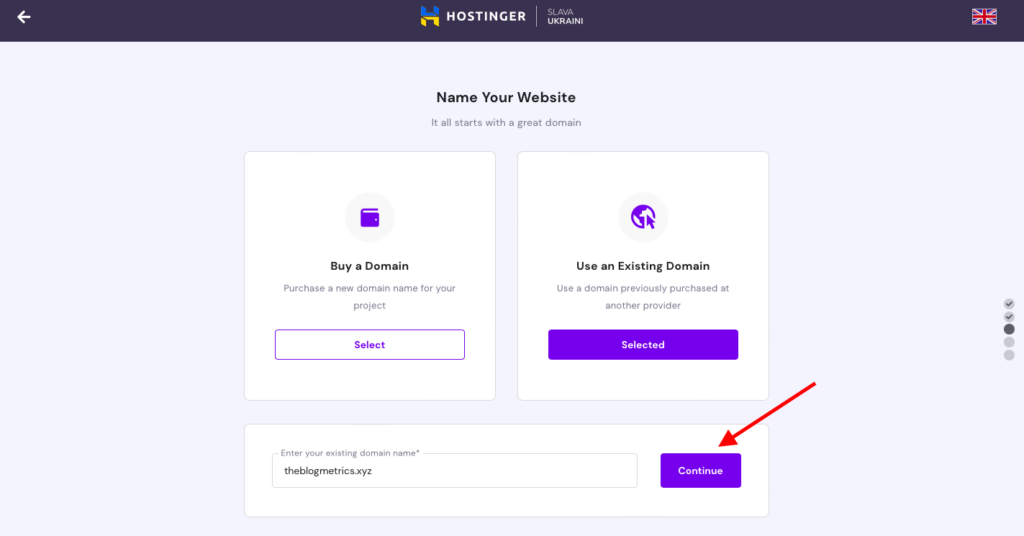
Now enter your domain name as shown in the above screenshot.
Connect the domain
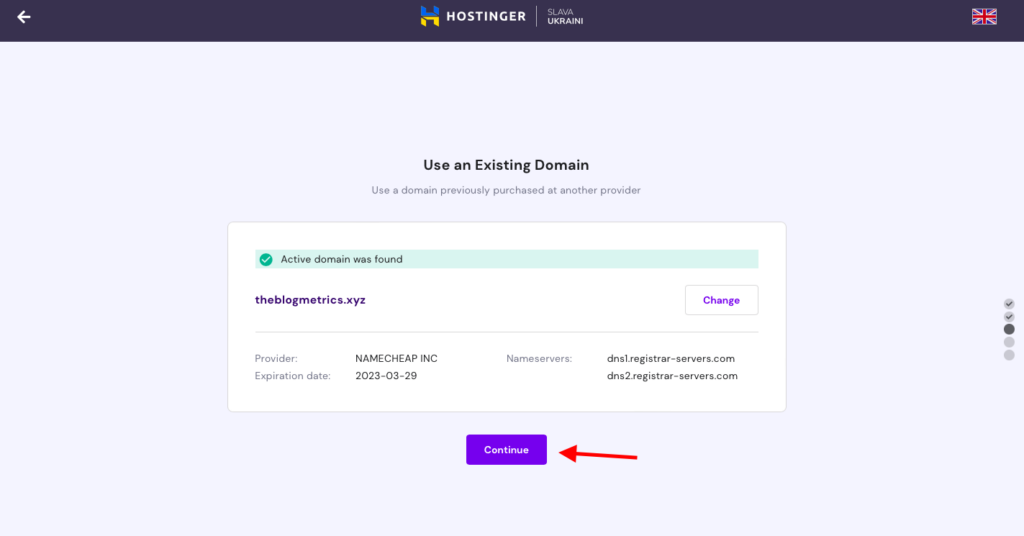
In my case, I’m using the NameCheap domain, and Hostinger is displaying the information related to that domain. Click continue if the details displayed are accurate.
Finish Set up

Now click Finish Setup
Installation process
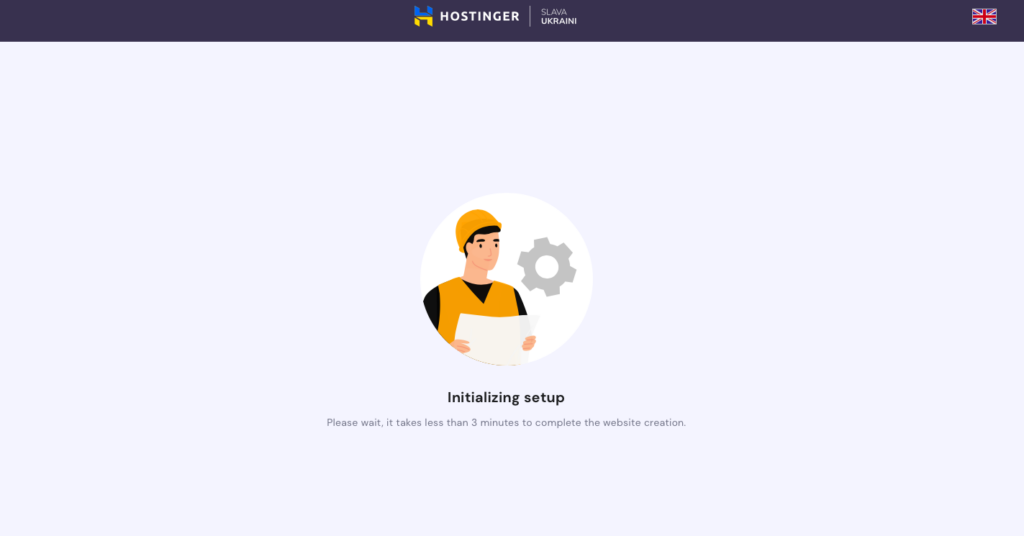
It’ll start the installation process.
Connect your domain name
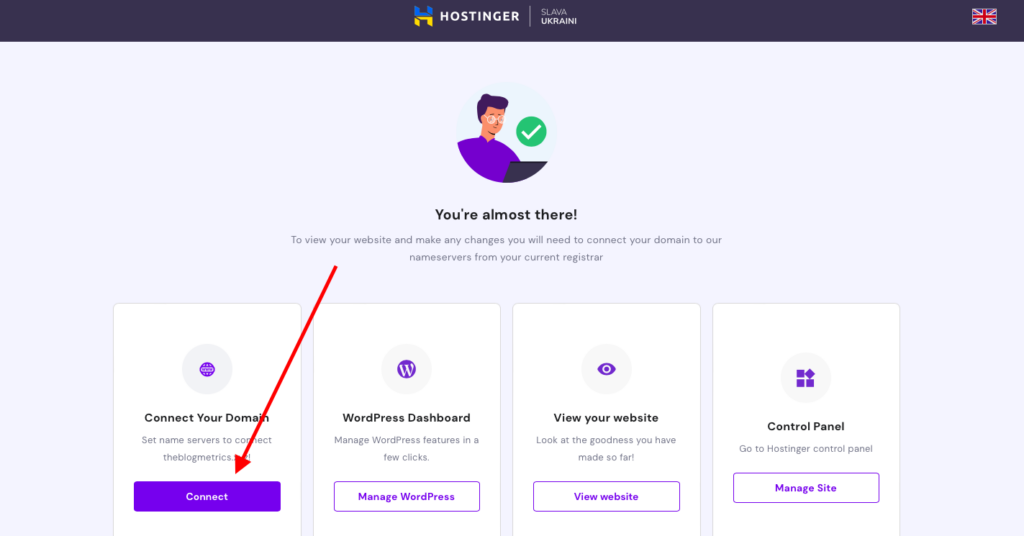
Now it’s time to connect your domain name
Activate domain name
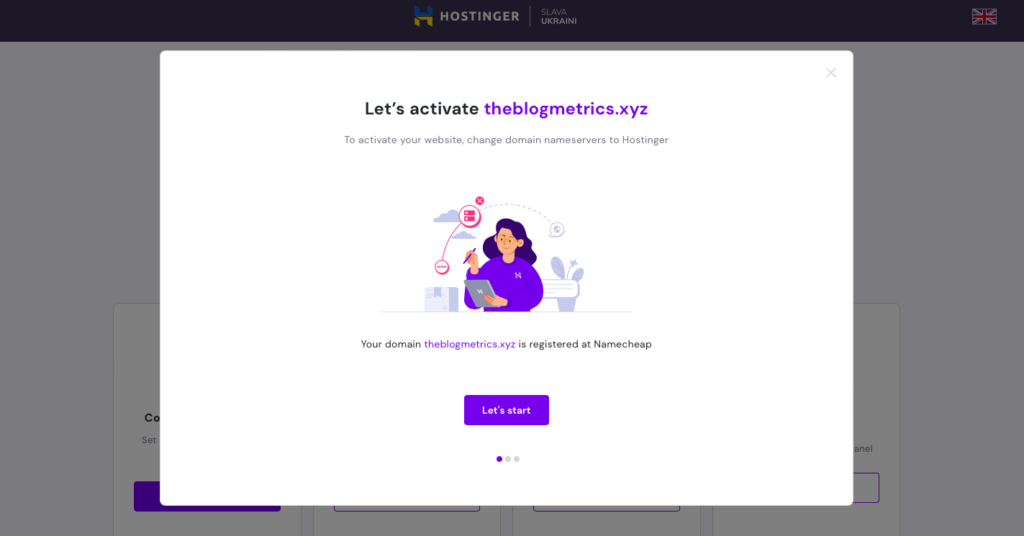
Since my domain name is registered at Namecheap, I need to connect it with Hostinger. However, if you brought a domain name with Hostinger, you can skip this next step.
Change Nameservers
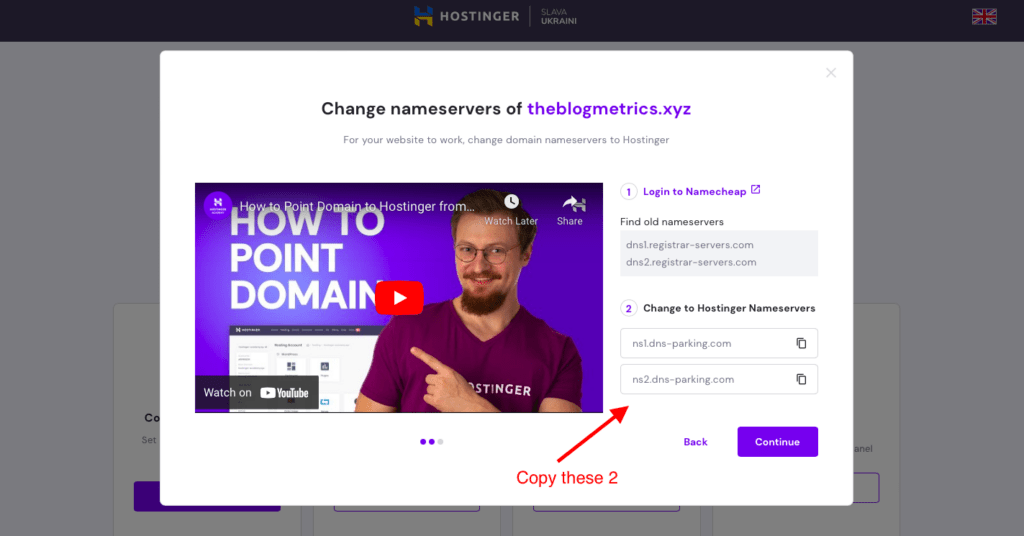
Now it’s time to change the Nameservers on my Namecheap account to connect it with Hostinger. Hostinger will provide you with unique Nameservers that you need to copy-paste onto your domain registrars. You can refer to the video guide in the Hostinger.
Almost done
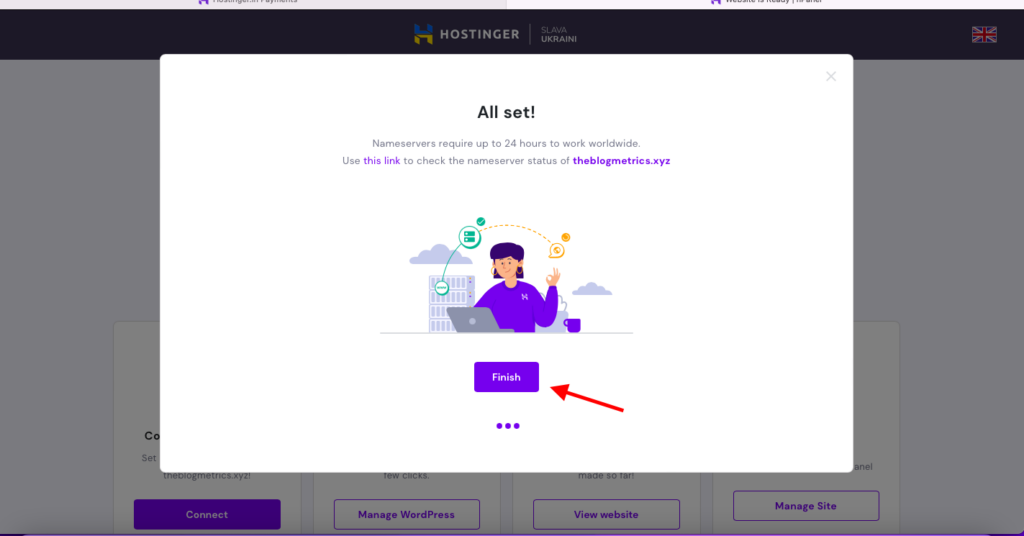
Once you connect your domain name with Hostinger, it can take up to 24 hours to propagate. Usually, it would work within a couple of hours; however, the waiting period depends on where you live.
Add an SSL
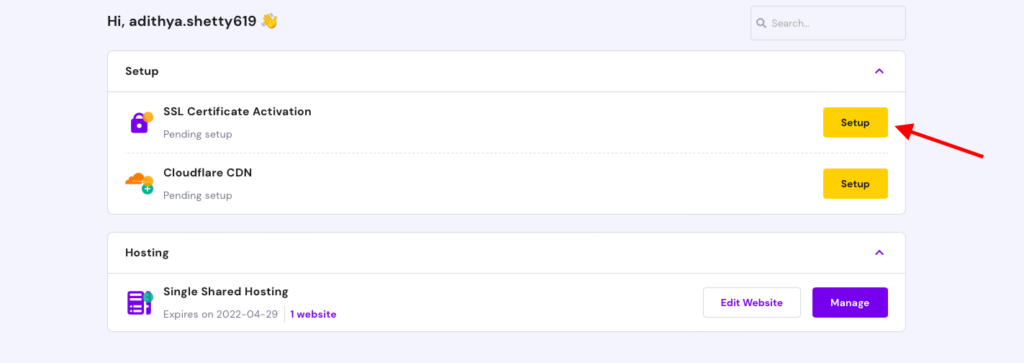
Now it’s time to add the SSL certificate. Click Setup as above shown in the image.
Hostinger Dashboard
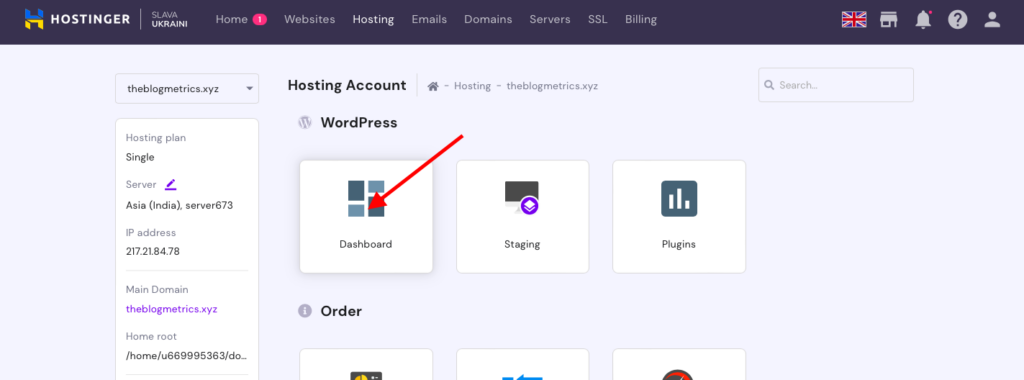
Now click on the Dashboard icon
Edit Website
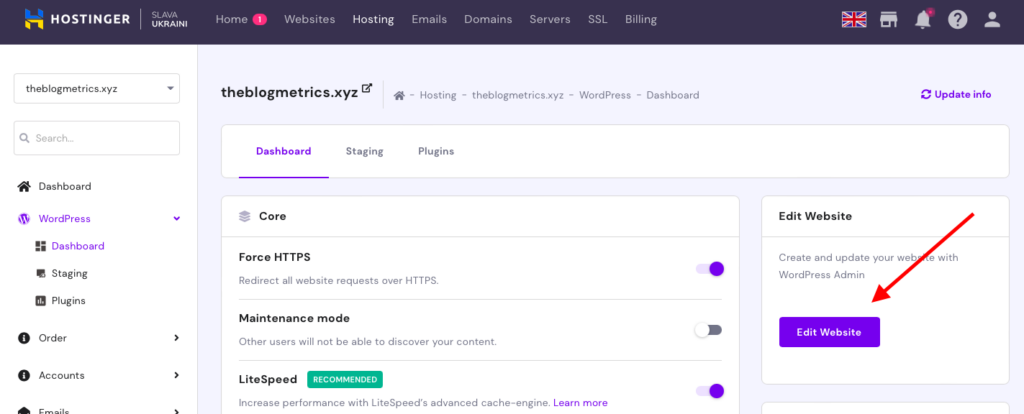
Click on Edit Website
WordPress Dashboard
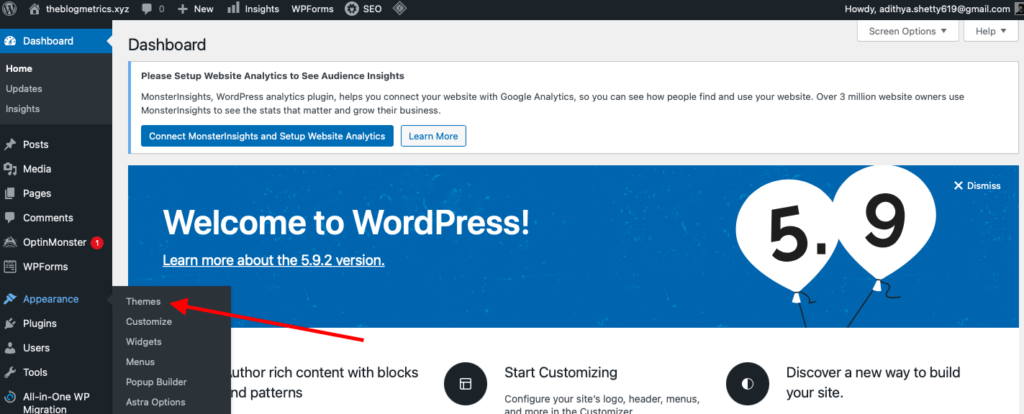
Now go to Apperance>Themes
Add New Theme
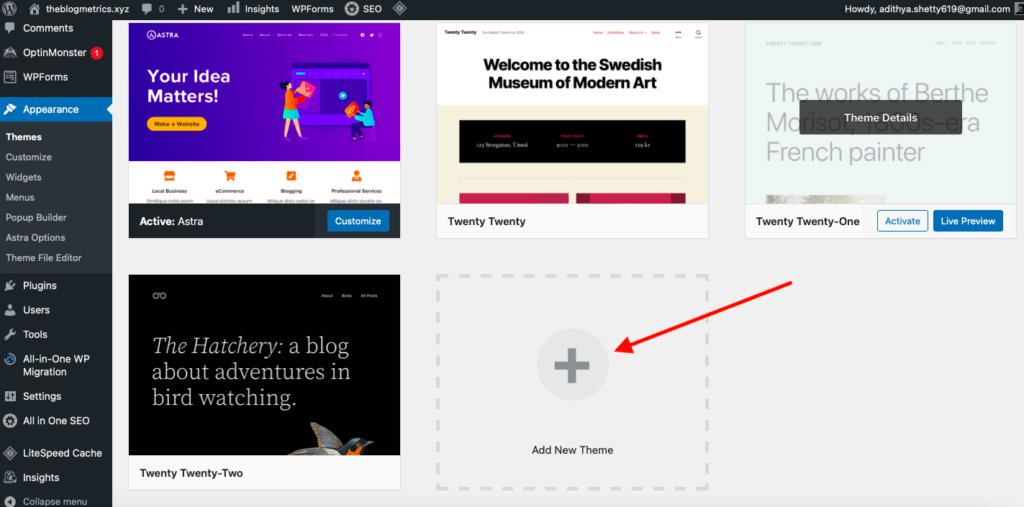
Now click on Add New Theme. Here you can choose your theme from thousands of professional free WordPress Themes.
The WordPress site is ready
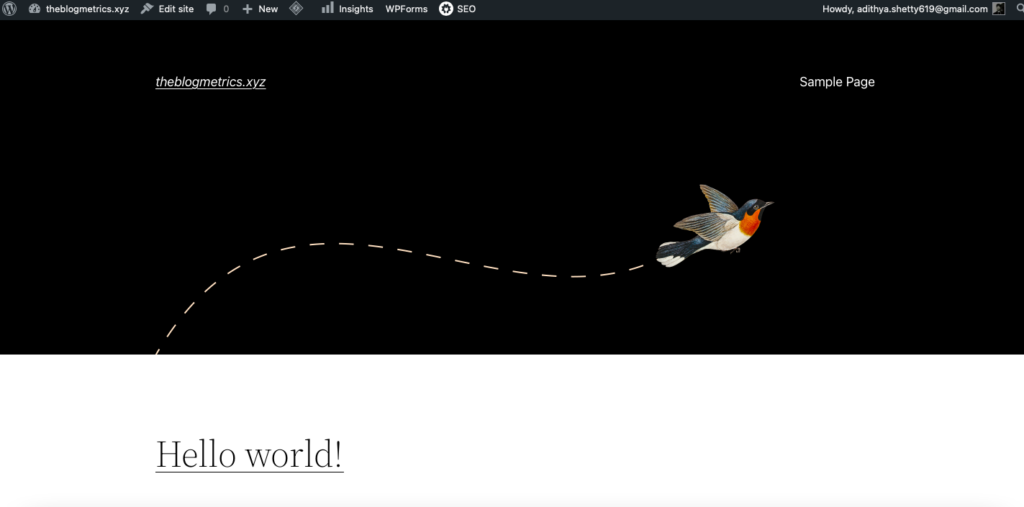
Above I’ve installed a free WordPress to show you how you can easily change your website design with a few clicks. Don’t hesitate to experiment and try new designs.
Conclusion
That’s it. This is how you can easily install and set up WordPress on Hostinger Web Hosting. If you found this tutorial helpful, consider using my Hostinger affiliate link to purchase your hosting plan.
Struggling to set up your WordPress site? I’m here to help; contact me here to get started with your project.